
Hello!
If you're an interior design student you'll know that your portfolio is a HUGE deal. For the past year my friends and I have been working like crazy, sometimes losing sleep, and working into the wee hours of the night in an attempt to put together a portfolio of our work that we can be proud of. Throughout this process you wear many hats including: graphic designer, interior designer, project manager, design assistant (to friends in need!), set designer, entrepreneur, student, employee, and wife/fiancee/friend... In other words- It's a big job.
This year I won the 1st Place Residential Design Award for my portfolio. I was shaking and crying after I received my award and walked back to my husband (wow, me?!). The portfolio process was long and challenging with lots of steep learning curves. Heck, it was one of the hardest things I've ever done! But I enjoyed the whole process, learned and grew so much, and having a portfolio I could be proud of in the end was all worth it.
To be honest, in many ways I don't feel like I totally own my portfolio. God was with me as I prayed and prayed for help when times were tough; and I received advice, guidance, and help from my sweet husband, family, and friends. The advice I got from teachers and the IIDA Portfolio Event was also invaluable. It was more of a team effort, and I'm so thankful for all the support.
Now back to the point of this post! To make this process a bit simpler for you, I've collaborated with a few other graduates, whose portfolios and styles I admire, to come up with 10 tips for making this process go (a little more) smoothly. I hope these tips will be of help! Comment below if you have any questions.
Good luck!
1. Start early
2. Make a list
For instance, here is a list I came upp with for AutoCAD elevations I wanted to include in my book:
- Finish drawing entire elevations
- Layer elevations
- Decide on font to use
- Add dimensions
- Add leader text
- Put on sheet (paper space)
- Plot to PDF
And on a larger scale for all projects in general I would make a list of what I specifically wanted to include:
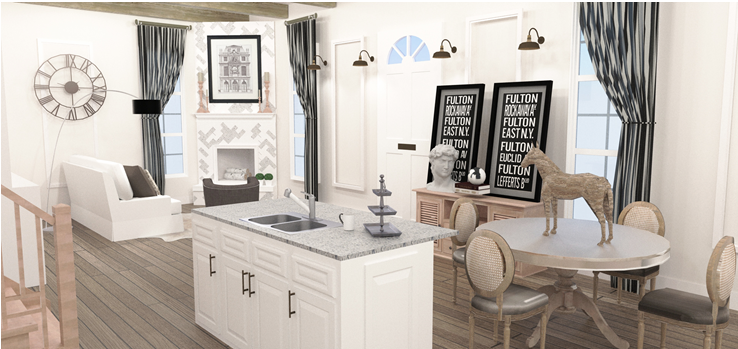
Max's Mid Century Apartment
- 1 rendered perspective of great room on SketchUp
- 1 color board for great room
- 1 dimensioned floor plan in AutoCAD
- 1 rendered floor plan in SketchUp
- 1 bedroom e-board
- 2 dimensioned kitchen elevations
- Project story
3. Tell Your Story
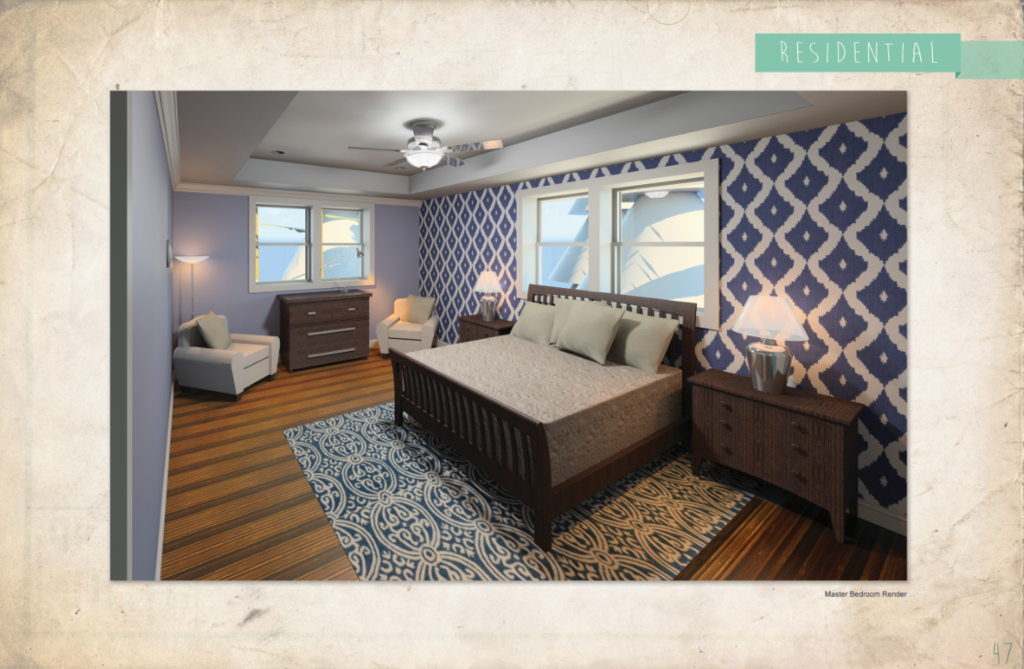
"Show the beginning thought process and all concept stages of your design all the way to the final install pictures of the project once its complete. A good designer can put together color and fabrics, but a great designer can explain how the room will come together step by step, and show how the process will get done."Andrea was the 1st Place Residential Design Award winner for her portfolio in 2014.
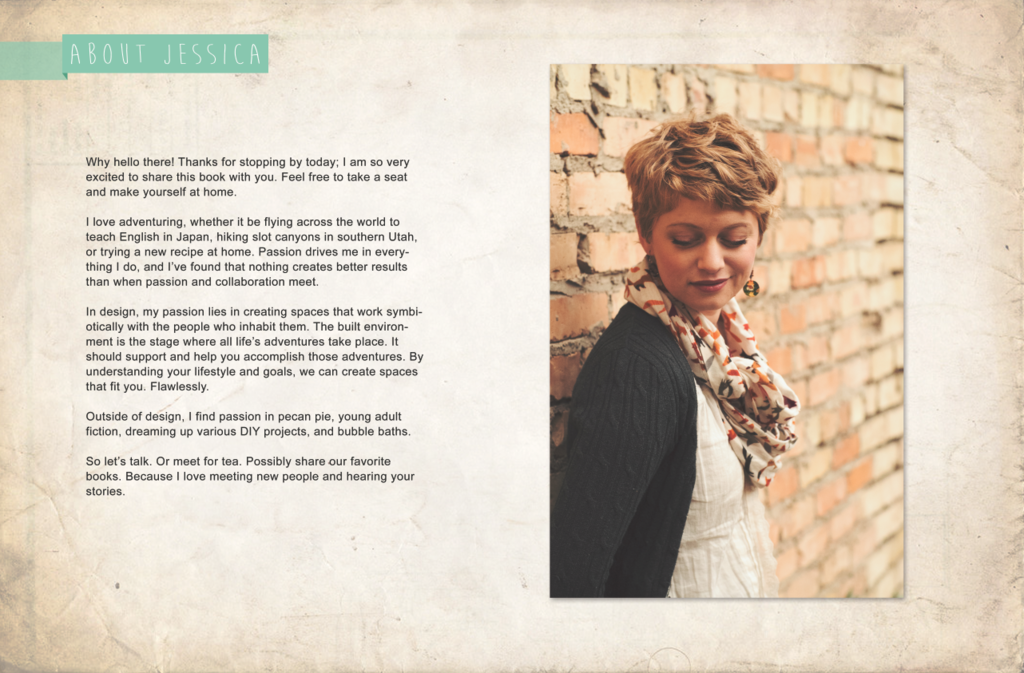
Jessica Childers adds:
"For me, it was telling the story of collaborations and relationships. When I was describing each project, I approached it from an angle of how collaboration helped it succeed. Doing this make it more interesting for anyone reading it, and will also do a better job at selling yourself as a whols, complete designer: person and skills combined.
At the same time, don't use too much text. People aren't going to have time to read. Try to say only the most important things and say them as concisely as possible. Focus on what is really important to the project."
Jessica was the 2nd Place Residential Design Award winner for her portfolio in 2015.
4. Use Complete Projects Only
Here's a tip from Alacia Hood (you can check out her cute blog here). This one is really important, and something I got advice on throughout the year:
"I would say the key to having a great portfolio is including entire projects. So, one entire house, one entire commercial space, etc., instead of bits and pieces from different projects. This allows you to keep it all similar and tell a story."
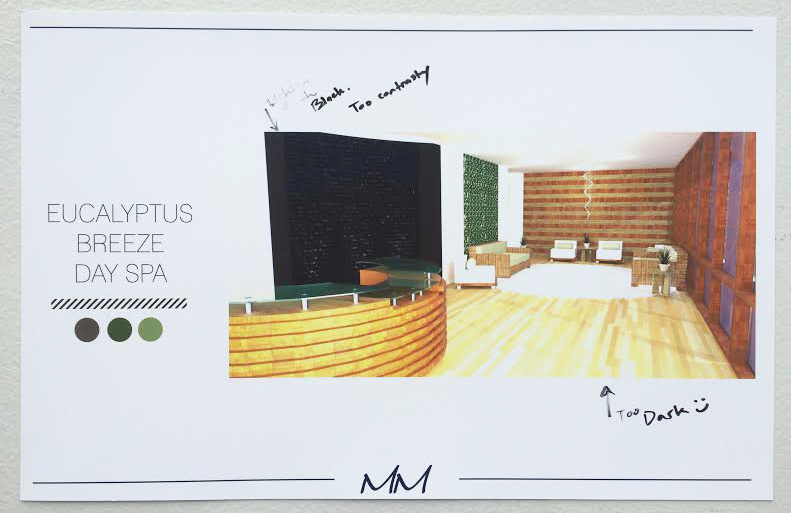
5. Get a Fresh Perspective
"Realize that you have been looking at the same thing for far too long, and that it's ok to ask other people for their opinions. Use those you've worked with at school and even your family members. They will help you see what you can improve on and give you tips on how to make your designs and layouts easier to comprehend."
6. Use a Program You're Familiar With
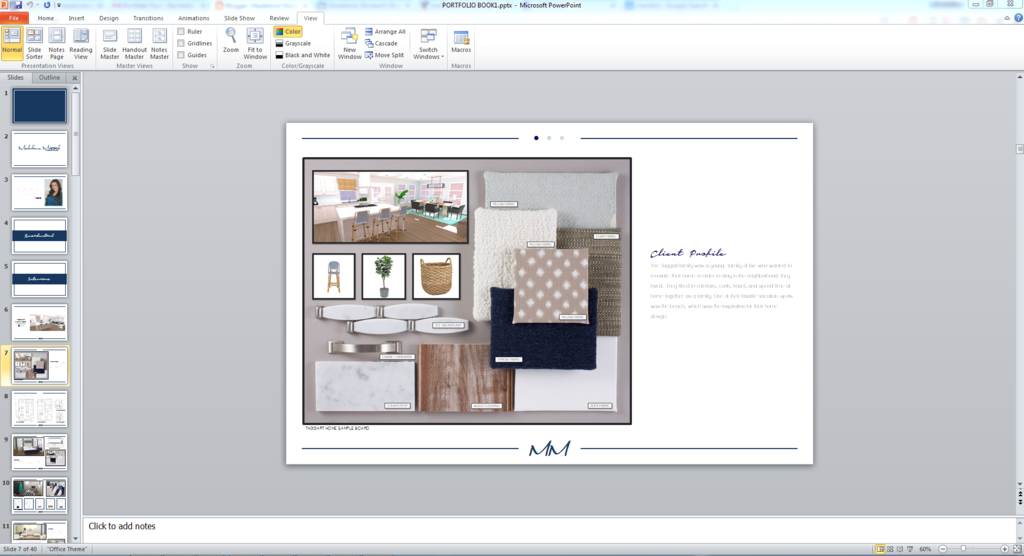
Jessica Childers provides a great tip for being less stressed over your portfolio:
"I used Photoshop to design my book. I know a lot of other students used Publisher and PowerPoint. I think a few used Illustrator. Use something you feel confident in, because if you’re trying to learn how to do things as you go along, it will be a lot more stressful and you’ll likely be less pleased with the final result."
7. Going "Naked"
Jessica Childers and I both opted to go without sheet protectors for our portfolios. I preferred the texture and look over having of the "naked" pages over having sheet protectors. I used adhesive strips I bought from Pictureline that cost about $10/10 (click here to check them out). They were tricky to put on with precision, but the pages laid flat and I though they looked great in the end. Jessica went a slightly different route. Here's what she did:
"A lot of people use sheet protectors. They have the benefits of protecting your pages and also make it very easy to insert it into your book and turn the pages. I personally didn’t like the added shininess of sheet protectors and opted not to use them. You’ll just need to get holes punched into your pages so you can put them straight into your book. your printer should be able to do this for you.
This is another place where getting a few pages test printed early can help. I ran into problems where I didn’t realize that my book was built to be exactly 11x17. I had a middle spine section where I was planning on putting the holes, but using that left my pages too long and hanging out the side of the book. I ended up having to punch holes into the 11x17 and brought that pretty close to some of my images and texts.
Also, if you opt to not use sheet protectors, it will make your book a little more unruly to flip through- the pages won’t lay flat. My suggestion is to get a card scorer and cutter- a little device that lets you score (basically make a little pre-fold) where you would want a fold like with make cards. You can score near the spine on each page and it will help the pages lie flat."
8. Test Print Test Print Test Print!
Ann Leach has some great advice on her experience with printing. Click here to see her beautiful portfolio.
"One thing I found was that it was very important to do proof prints of your book before you get it all printed for real! I also found that FedEx does not do a good job of printing the hard way, so I wasted about $40 printing with them and they didn't turn out. So I went to Alpha Graphics in Bountiful and they were very helpful, did an awesome job, printed on nice paper, and it cost $50 which was worth it for me!"
Ann was the 3rd Place Residential Design Award winner for her portfolio in 2015.
Alacia Hood adds:
"Test print, test print, test print! Make sure you do it at least once so you can see what your pages will look like and put the test pages in your book so you can get a real feel for what it will be like when completed."
9. Unify Your Backdrop and Portfolio

Andrea West brings up a great point. To make a truly cohesive project, bring elements from your portfolio into your display. I used horizontal wooden planks from my Taggart family home design in my backdrop to give a cohesive feel and sell my brand. Here's Andrea's advice:
"Find something that inspires you and make that the focal point of your design. Let that inspiration carry through to the fine details. Use pieces of a project you are featuring in your portfolio in your display/backdrop."
10. Be True to You

At the end of the day, your portfolio is selling you as a designer. What are your favorite styles? What were some of your best projects? Where do your talents shine?
Cyndra Harris suggests:
"Focus on what you do best and perfect the details."
Alacia Hood adds:
"Design is so subjective that you may be told to change your resume, color scheme, or whole concept but go with your gut and it will turn out amazing!"
Jessie Chevez says:
"Design your portfolio so that it represents you. It may be tempting to do what is popular or what your peers are doing, but if yoy continue to stay true to your own style, you can never go wrong."
Jessica Childers adds:
"Definitely stay true to yourself and what YOU like and YOUR style, but try to do it in a way that sets you apart from the rest of your class. Focus on your brand, on yourself. Because what you’re selling isn’t really a room or a board or even you book. You are selling yourself. What you stand for. How you work with people. What sort of beautiful things you can do."
Thank you everyone who contributed their tried and true tips to this post! I hope you enjoyed reading/ got something out of this. If you have any questions, feel free to comment below :)
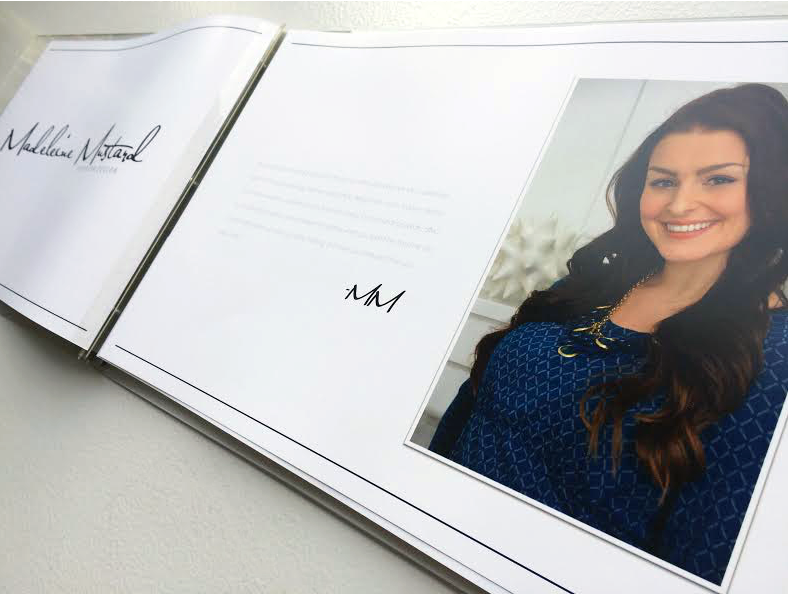
-Madeleine Mustard


.jpg)


No Comments Yet, Leave Yours!