Showing posts with label Create. Show all posts

Monday, May 11, 2015

Throw a Pretty "Picnic" Party for Under $50

party, interior design, birthday, tabletop

Happy birthday/ Mother's Day/ End of school year to my wonderful mumma!!

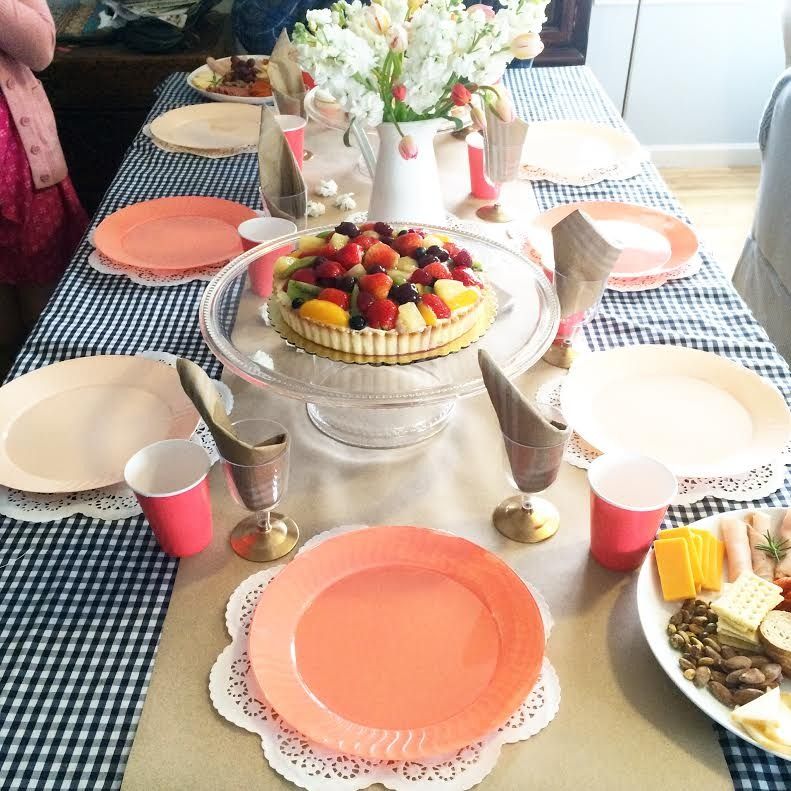
Mum wanted to get together outdoors for a picnic and hike, but on the day of it rained! Plan B was to have it inside my parent's house. My clever sisters helped me put the "picnic" together, but on the kitchen table instead.
party, interior design, birthday, tabletop, macarons, peach, coral, raspberry, gold

I have 3 amazing sisters who all pitched in to bring this party to life! We wanted to put together something pretty that our mum would love. We found out her favorite colors, flowers, and foods, and went from there.
party, interior design, birthday, tabletop, macarons, peach, coral, raspberry, gold

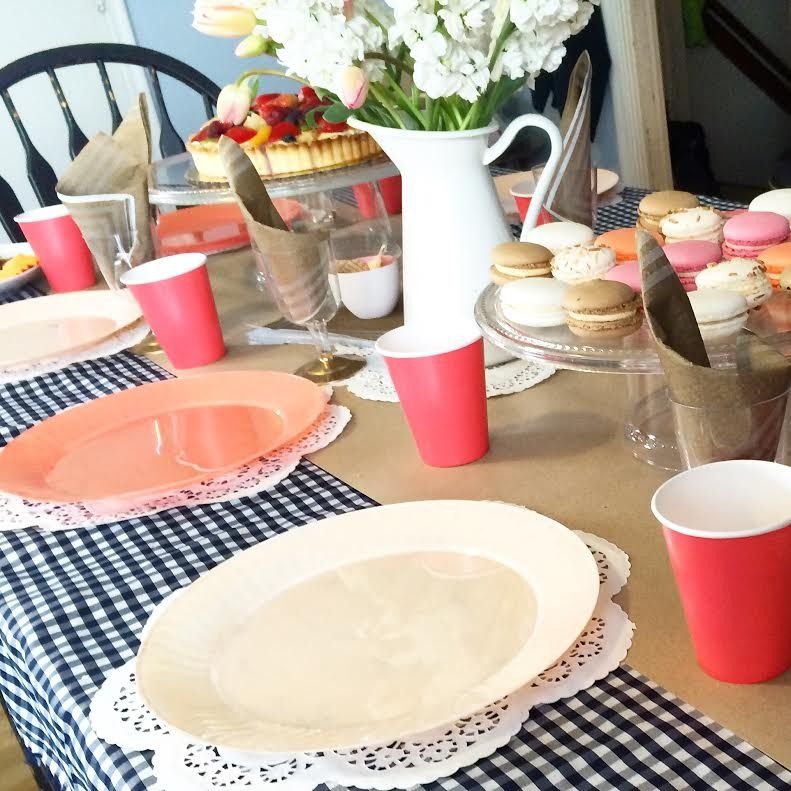
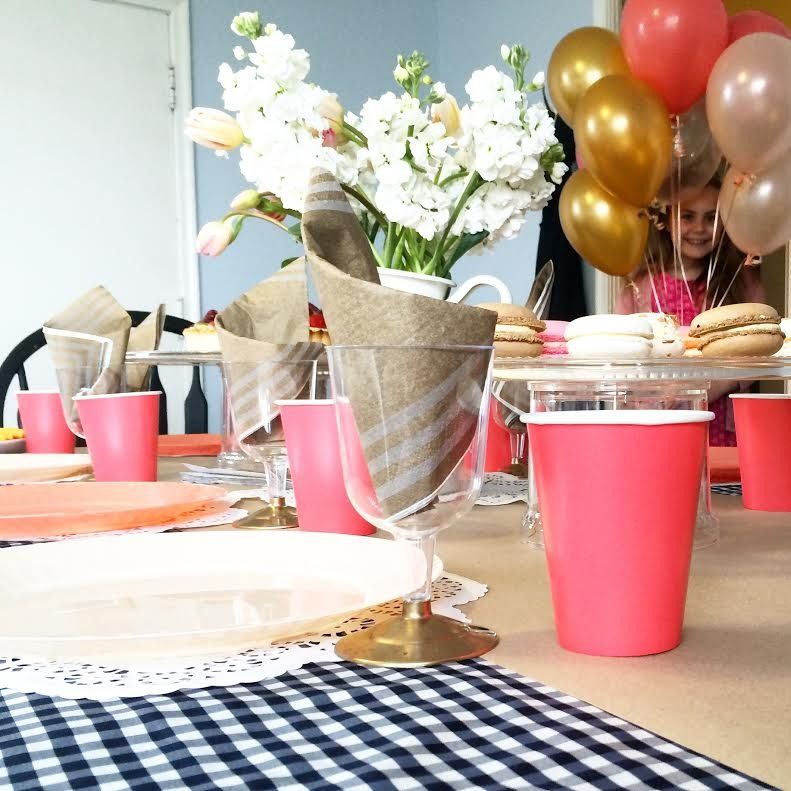
We went with a color scheme of peach, coral, raspberry, and gold. Above you can see my littlest sister, Lorelei peeking out from the bouquet of balloons.
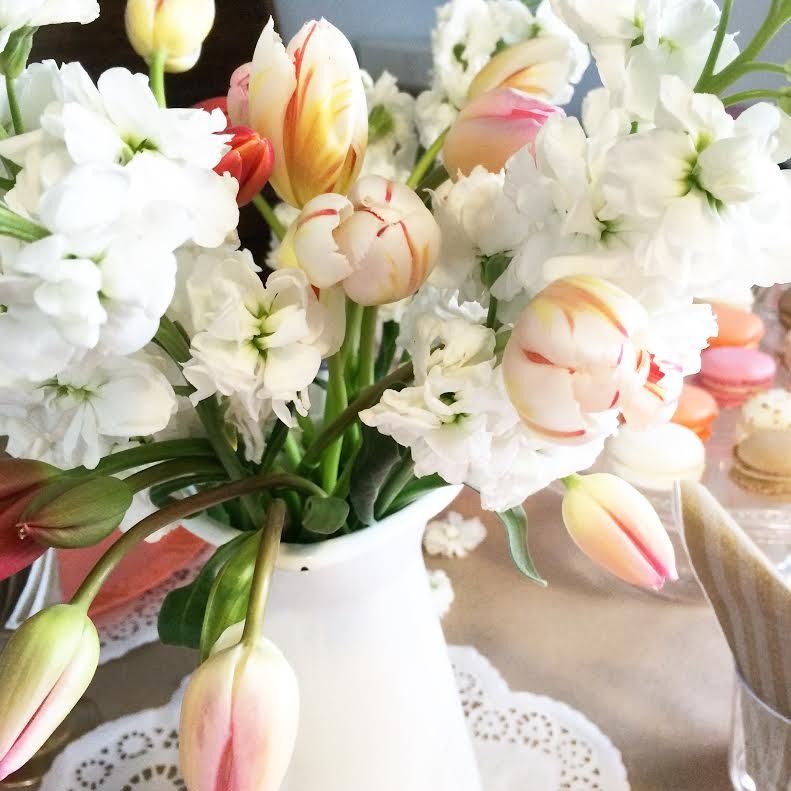
party, interior design, birthday, tabletop, macarons, peach, coral, raspberry, gold, flowers

One of her favorite kind of flowers was tulips. We found these at a local grocery store and paired them with some white sweet peas (actually, they're not sweet peas but a similar flower, I just forgot their name :p).

party, interior design, birthday, tabletop, macarons, peach, coral, raspberry, gold

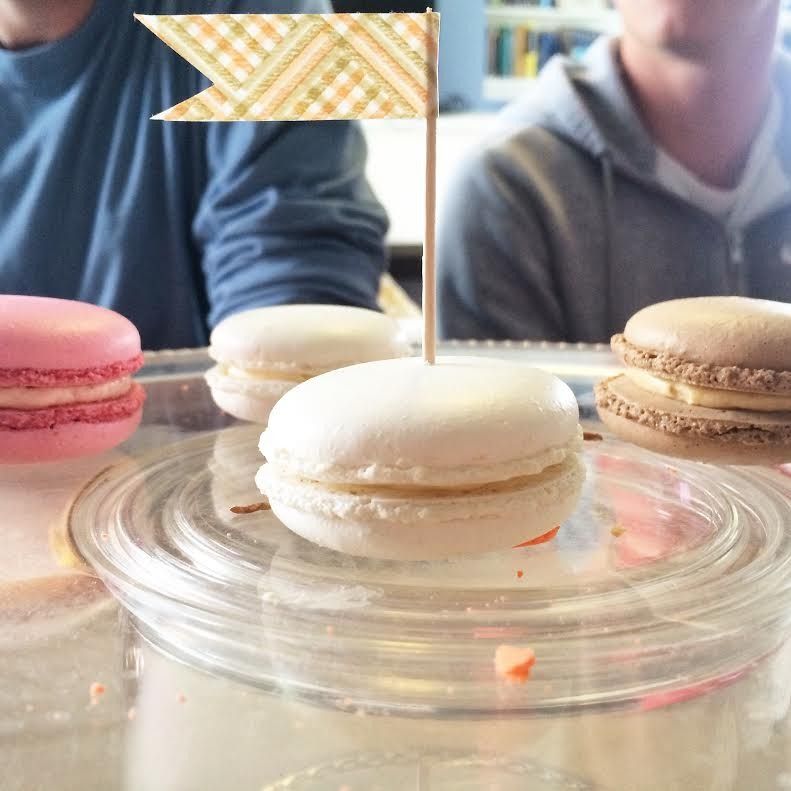
Mum loves all things French, so we ordered some macarons in colors to match the party scheme.

party, interior design, birthday, tabletop, macarons, peach, coral, raspberry, gold

Because we were originally thinking of doing a picnic, we prepared mostly finger foods: sandwiches, cheese plate, and macarons. Here's a yummy cheese plate with deli meats, an assortment of cheeses, crackers, dried apricots, grapes, and nuts. Oh- and a sprig of rosemary to complete the look!

party, interior design, birthday, tabletop, macarons, peach, coral, raspberry, gold

The only utensils we needed were spoons for eating the fruit tarte, and toothpicks for the cheese plate.
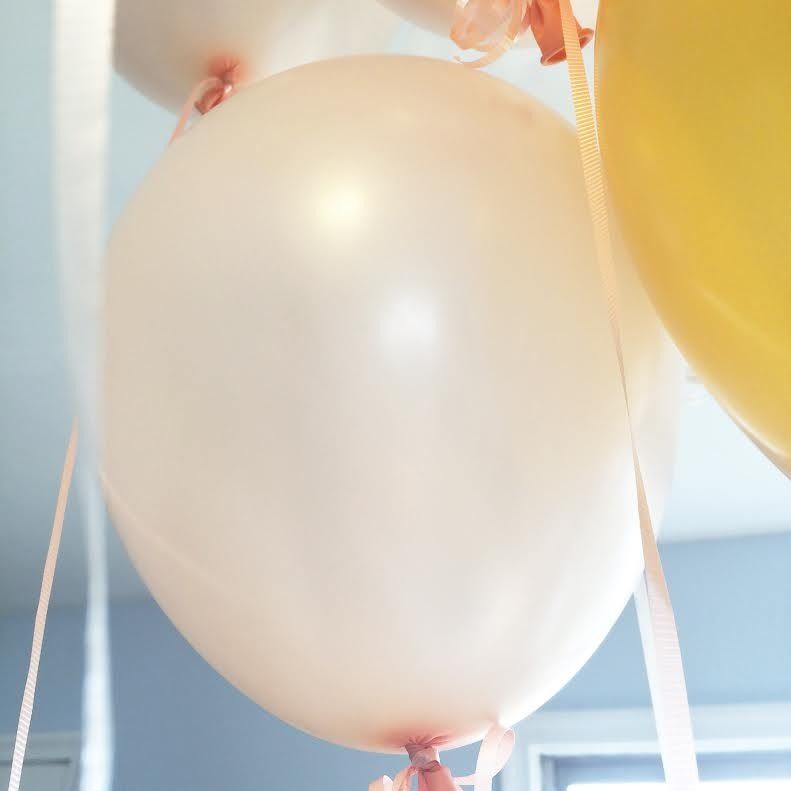
party, interior design, birthday, tabletop, macarons, peach, coral, raspberry, gold

I love these helium balloons! We found some balloons in peach/coral tones at a local party store. I think they worked very nicely.


We did a couple of DIY projects to add some color and sparkle to the party decor. We spray painted the removable bottoms of the plastic goblets in gold. We also painted the bottom side of some plastic disposable plates to add a pop of peach. They turned out bold and glossy! The table cloth was also a make-shift solution made with some fabric from Walmart, and  layered with a strip of natural paper as a table runner. The place mats were doilies, and we used washi tape to make little flags to go on top of toothpicks for picking at the meats and cheeses (but shown below on top of a macaron just because).
party, interior design, birthday, tabletop, macarons, peach, coral, raspberry, gold

Our decor shopping list:

-Table cloth (2 yards of fabric)... $8 from Walmart
-Table runner paper... $3 from Target
-Doilies... $2/ pack of 10 from local party store
-Plastic plates... $3/ pack of 8 from Walmart
-Paints for plates $1 for 2 colors from Walmart
-Goblets... $2 from the dollar store (I bought these a long time ago, so it's just a guess on the price)
-Gold spray paint... $8 from craft store
-Wooden spoons for dessert... $3/pack of 20
-Toothpicks... $1 from local grocery store
-Flowers... $17 from local grocery store
TOTAL = $48.00
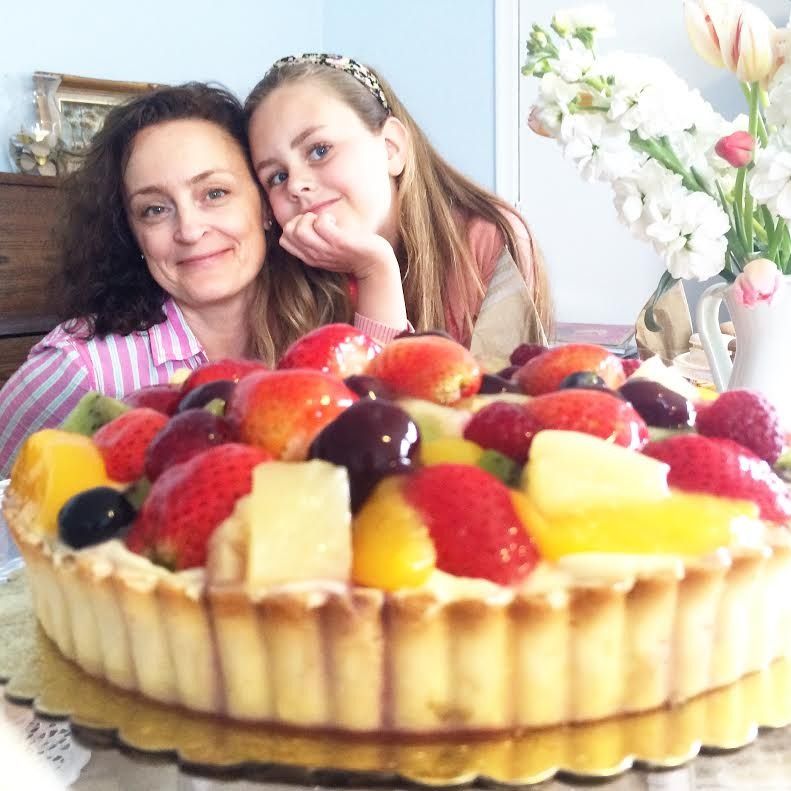
Not bad, eh?

party, interior design, birthday, tabletop, macarons, peach, coral, raspberry, gold

I think mum had a good time with the family! We love you mum and are so thankful for the wonderful mother and example you are to us. Xx
Friday, April 17, 2015

How to Make a Portfolio Backdrop


This is a special post for students wanting help building their portfolio backdrop and anyone else who's interested in how I put mine together :)

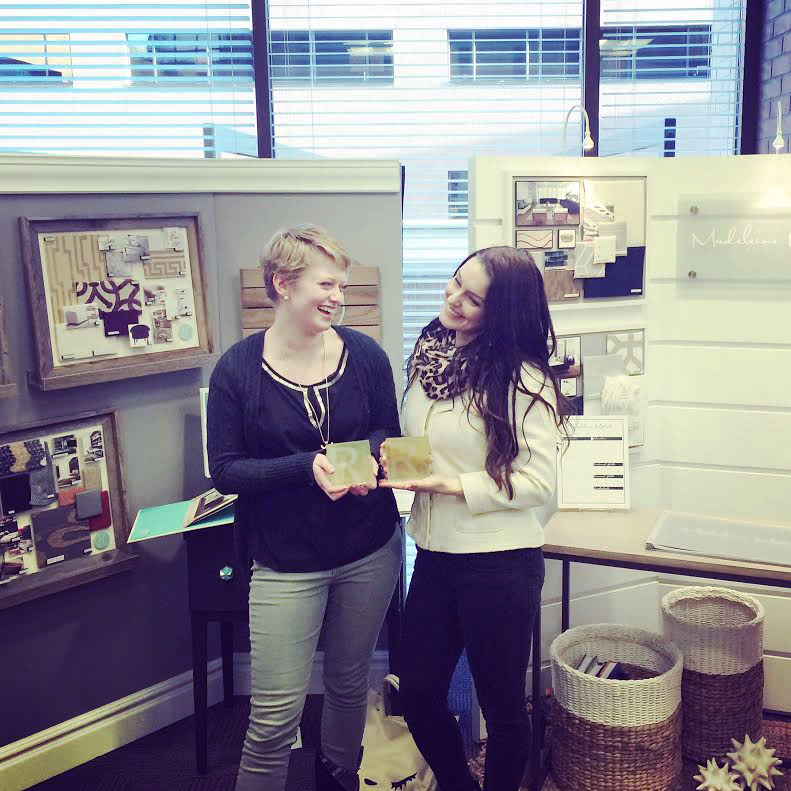
For those who don't know, at LDS Business College part of putting together our portfolios included making a display or vignette to show off our brand/style. The actual portfolio book was part of this display, usually lying on a table.

My display took a good two months to design, construct, and refine. It also cost me over $400, but the result was just what I was hoping for and I think it really showed off my personal brand!

The Design


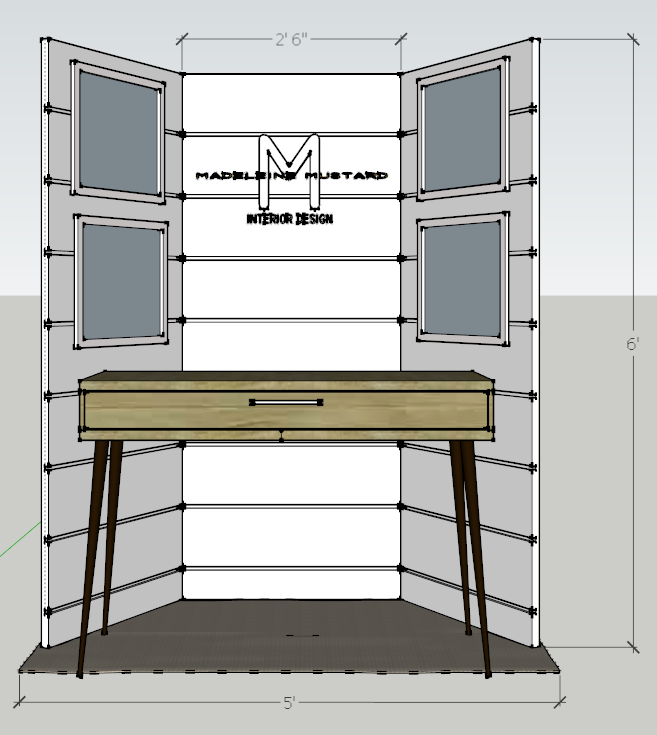
Looking at last year's students' displays was a jumping off point for what to build as a backdrop. We students were also given strict limits on depth, width, and height (40" x 60" x 72")

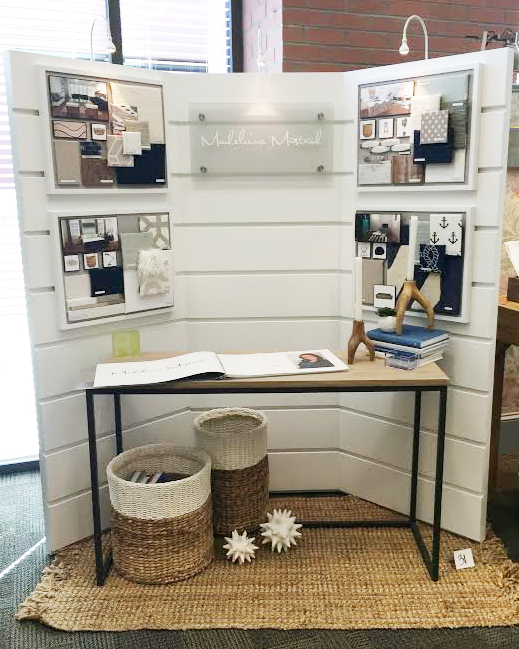
I wanted my backdrop to be fresh, clean, modern, and to have some architectural interest. I also wanted to represent my love of the ocean in a subtle way.

I came up with a simple color scheme of white, navy blue, and natural tones. To make the display feel inviting, I went for a 3-panel design that angled out towards viewers (I felt like the openness drew you in). I combined the architectural interest and ocean aspects together by applying horizontal panels to the doors.

I began with a hand sketch, and then improved my backdrop design  in SketchUp.


After designing the display, figuring out measurements and angles, and breaking it down into its parts, we went shopping for materials and supplies.

The Shopping Trip


We purchased 3 primed hollow core doors from The Home Depot ($25/ea.) to be the main structure of my display. The horizontal panels were planks of 8" wide primed MDF ($15/ea.) and attached with liquid nails ($2.50/ea).

We bought lay-flat hinges ($3/pack) to attach the doors in the back. Rubber feet ($2/pack) were used to give the doors something to "stand" on. We bought 90 degree framing angle brackets ($0.5/ea.) to attach the lighting to the back (more on that later). Wood screws ($4) were used to attach the lighting brackets and to hang up my framed color boards. We painted the backdrop in Super White by Benjamin Moore ($15/pint). To give everything a nice, clean finish we caulked the edges where the MDF panels and doors met.

We also purchased frames ($10/ea.) for my color boards and 3 lights ($15 ea.) to illuminate my display from IKEA.
Shopping list:
  • 3x Hollow core doors ... $75
  • 7x MDF planks ... $108 
  • 2x Liquid nails ... $5
  • 6x Hinges ... $6
  • 2x Rubber feet ... $4
  • 3x Brackets ... $1.5
  • Screws ... $4
  • 4x Frames ... $40
  • 3x Lights ... $45
  • 2x cans Paint ... $30
  • Painting tools ... $15
  • 1x Caulk ... $3
  • 4x Color board frames ... $40
  • 3x Lights ... $45
TOTAL= $421.5
Pretty pricey! I went into this expecting to pay half as much, but somehow things added up really quickly!

I just want to point out to anyone who is about to build a display that there were many students who spent way less than I did (but also some who spend just as much or more), and it's really up to what you're willing to spend, what you want built, and where you're willing to look for materials. My MDF planks took the price up quite a lot, but then I was really wanting the architectural element they brought. Another option could be to use bead-board, or to paint stripes which I believe some other students did for their displays.

The Construction Part 1


Thank Heavens for my amazing father-in-law! He was the guy with the garage and tools for this project, and I don't know what we would have done without him!

The nice people at The Home Depot cut the MDF planks to size for me, so when we got to work at my in-law's house, we used a saw to cut the doors down to the 72" height limit.

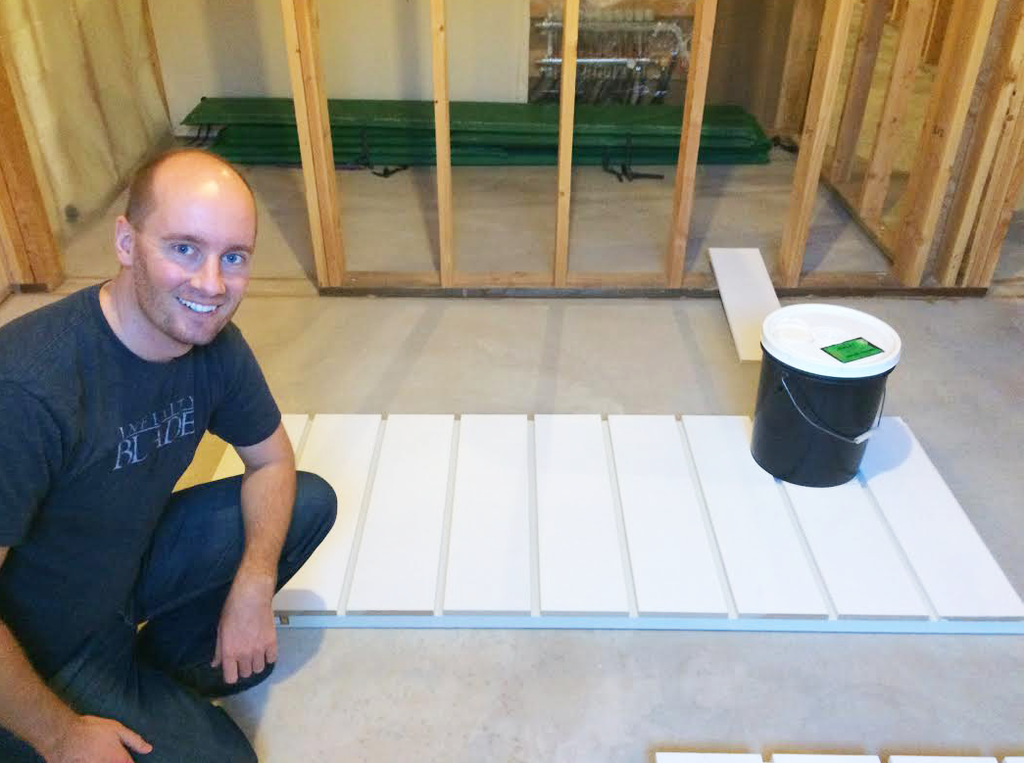
Once that was done, we laid the doors on the ground and attached the MDF panels with liquid nails. To keep the planks from moving around while drying, we spaced them with shims my father-in-law had on hand that happened to be 1/2" thick- exactly the size of gap between planks I'd planned for!


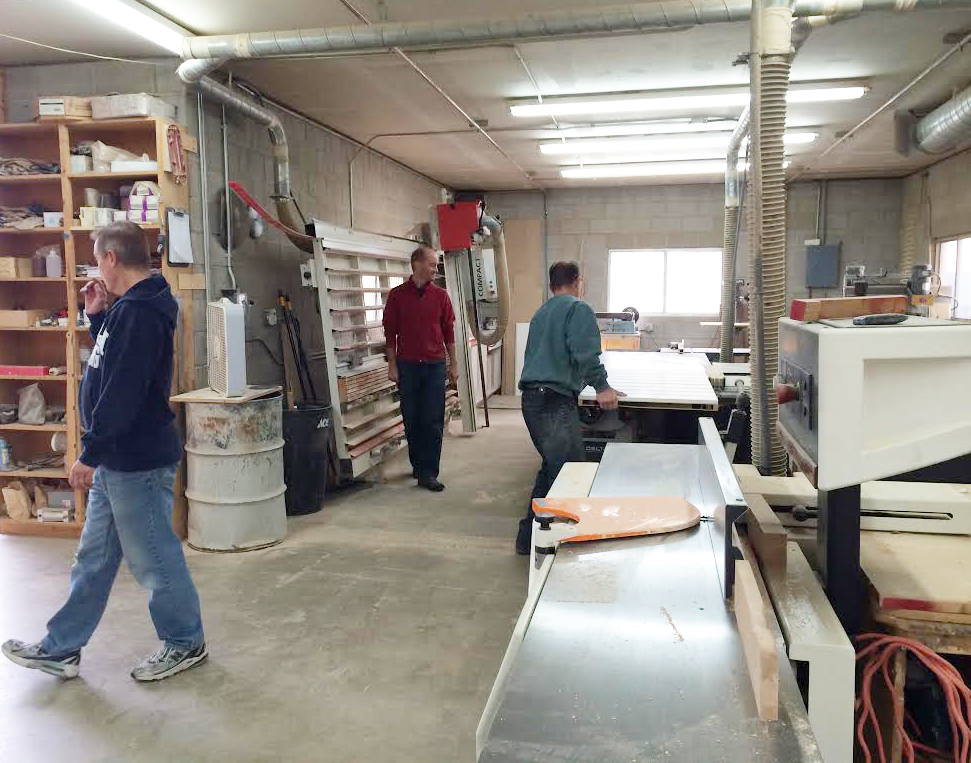
My father-in-law also had a cabinet maker friend with a nice big workshop and table saw. He cut angles in the back of the doors so that they would butt up against each other nicely at the angle we'd planned for. Thanks Andy!


The next step was caulking and painting. The caulking job was achieved using a caulk gun, a damp rag, and our fingers. Since the doors and MDF planks were already primed, we could get right to the painting part. My husband Geremy and I took turns painting on top of the MDF and the gaps between the panels.

The Construction Part 2


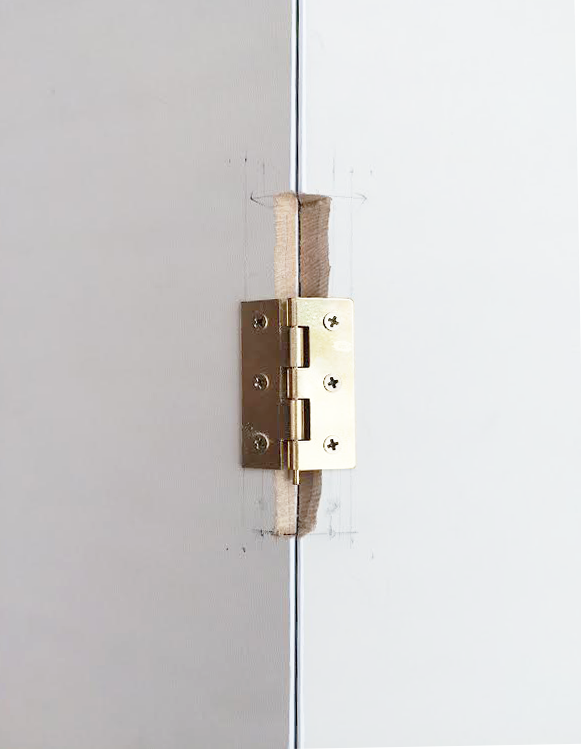
Once the doors were cut, caulked, and painted, it was time to join the 3 doors together. We achieved this by affixing six lay-fat hinges on the back corners of the doors like so:


As you can see we made lots of marks to position the hinges just right. We also had to hand saw away the part where the knuckle of the hinge would sit. At first we made a little miscalculation which is why the sawed off part is extra long.

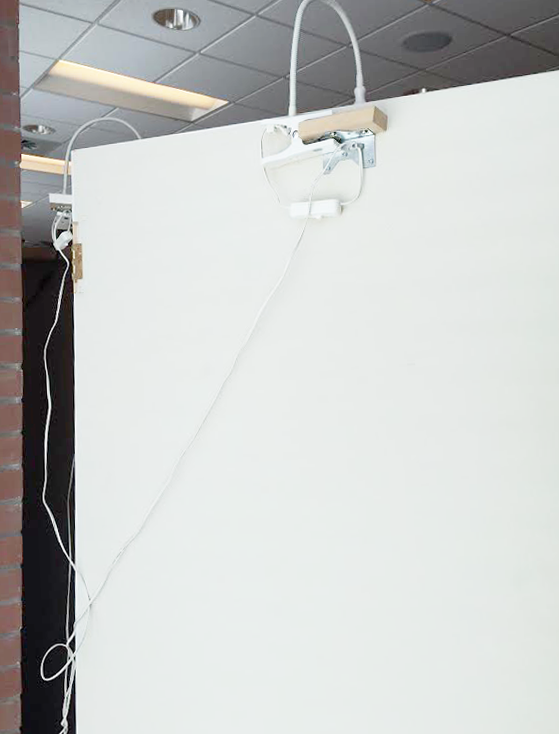
To affix the lights, (I bought mine from IKEA) we screwed a scrap piece of MDF to a 90 degree bracket to which we clipped the light.


Since I spent so much on the display itself, I wanted to save money by using accessories around the house to decorate my vignette. Although if I'm being perfectly honest, I did purchase the table for this project! I got it here from West Elm and I absolutely LOVE it. By the way, did you know that they give 15% off student discounts? Sign up here.


Voila! The finished product.

If you have any questions, feel free to comment below and I'll see if I can help. Good luck!


Saturday, October 5, 2013

DIY Colorful Envelopes

I found this idea on Pinterest, tried it and had to share it! Click here for the instructions I followed. 

Handmade envelopes

Aren't these envelopes cute? Luckily for me I like to send snail mail every once in a while, so these envelopes were practical as well as fun to make. 

They were pretty easy to make as well. Here's how I did it:

Original and Handmade envelopes

The envelope on the left is an envelope I'd purchased from the store next to the one I made. I opened up the original envelope (carefully making sure not to rip it), traced around it onto a piece of scrapbook paper, and cut out the shape. 

DIY envelope

I then folded flaps like the original had, and stuck them down with double sided tape. 

Finished product

Easy. And way cuter than plain-old envelopes from the store!


Wednesday, October 2, 2013

Mermaid Mirror

Mermaid mirror

I'd like to show you the project I worked on at the end of the summer: a mermaid mirror- or at least, that's what I call it!

The impetus for this project came from my youngest sister, Lorelei who when my husband and I went to Hawaii earlier this year, requested a "Hawaiian mirror" (I think It's so cute that she called it that!). Well, I looked and looked for such a mirror in every shop we visited, but with no luck.

When I came home from our vacation, I decided that I would make a mirror instead, and how perfect that it would be her birthday in September!


Materials

I was able to gather all of the materials I needed for about $20- not bad! I found the mirror at a thrift store for $2, most of the seashells at Treasures Antique Mall for about $13  (This mirror was featured on their blog! Click here to check it out), and the pearls and large fan shells at Hobby Lobby for about $5. 

Mid-project mess

I used hot glue to secure everything in this project (great, but messy stuff). I started by lining the inner rim of the mirror in tiny shells from a shell necklace, then I positioned the larger shells on the top and bottom, after which I covered the rest of the rim in the remaining shells. A T-square helped me center the larger shells. 

Backside

Since some of the shells were placed beyond the border edge on the bottom, I decided to make this a hanging mirror. My husband and I went to the hardware store to buy some hooks, wire and rubber bumpers to keep the frame away from the wall. Also, I covered the old speckled-gold mirror in cute polka dot washi tape- much better!

Shell detail


When it was all done I was very pleased with the way it turned out. Now to wrap it up and give it to Lorelei. Hope she likes it!


Happy birthday Lorelei!


Related Posts Plugin for WordPress, Blogger...